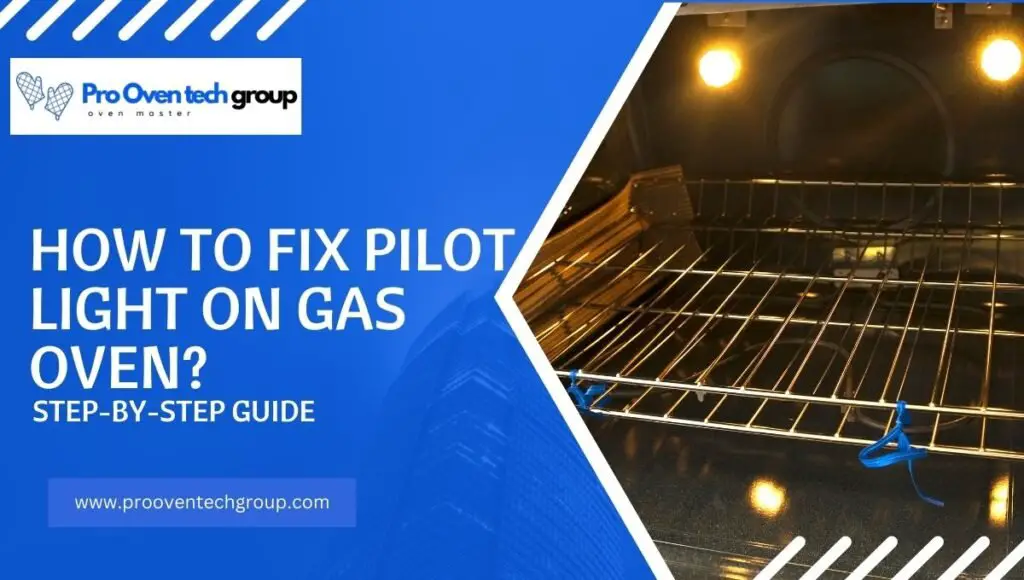
How to fix pilot light on gas oven? Are you having trouble with the pilot light on your gas oven? If so, no need to worry; it happens even to the best of us. Chances are that when this issue occurs, you’re hesitant about hiring a professional and instead want to try fixing it yourself.
To fix pilot light on gas oven, you don’t need to be an expert handyman. With a little bit of patience and the right tools, you can easily get your oven back up and running in no time.
Fortunately, if approached carefully and correctly, repairing the pilot light on your gas oven is something anyone can do in their own home – all you need is some determination and a bit of guidance! This blog post will provide an easily accessible step-by-step guide for shoring up any problems related to a malfunctioning melt valve or thermocouple occurring within your device.
Table of Contents
What is the Pilot Light on a Gas Oven?
The pilot light is a small flame that ignites the fuel source in your gas oven. It serves as a continuous source of heat to keep the main burner lit, ensuring consistent temperature within the oven. Without a properly functioning pilot light, your oven will not be able to produce heat and cook food effectively. Therefore, it is crucial to address any issues with the pilot light to ensure your oven is running smoothly.
How Does it Work?
- The pilot light is typically located at the bottom of the oven, near the back or side panel.
- It is lit using an electronic ignition system or a manual lighting mechanism.
- Once lit, the pilot light remains constantly burning to keep the main burner ignited.
- If there is a malfunction with the pilot light, it can result in no heat being produced in the oven.
- Regular maintenance and cleaning of the pilot light can prevent issues from occurring.
How to Know When Your Pilot Light Needs Attention?
If your pilot light is not working correctly, you may notice several signs that indicate it needs attention. These include:
- The oven is not heating up or taking longer than usual to heat.
- You hear hissing noises coming from the oven.
- The pilot light flame appears weak or flickers constantly.
- There is a gas smell near the oven.
If you experience any of these, it is essential to address the issue with your pilot light promptly.
Safety Considerations Before Working On Your Oven
Before you begin working on your gas oven, it’s crucial to keep a few safety considerations in mind. Firstly, always ensure the oven and the gas supply are switched off before you start. Secondly, if you smell gas, open windows and doors for ventilation, and avoid making sparks or flames. Thirdly, consider wearing safety gloves to protect your hands from potential sharp edges inside the oven. Lastly, if at any point you feel uncomfortable or unsure about the process, don’t hesitate to call in a professional.
Step-by-Step Guide to Fixing the Pilot Light
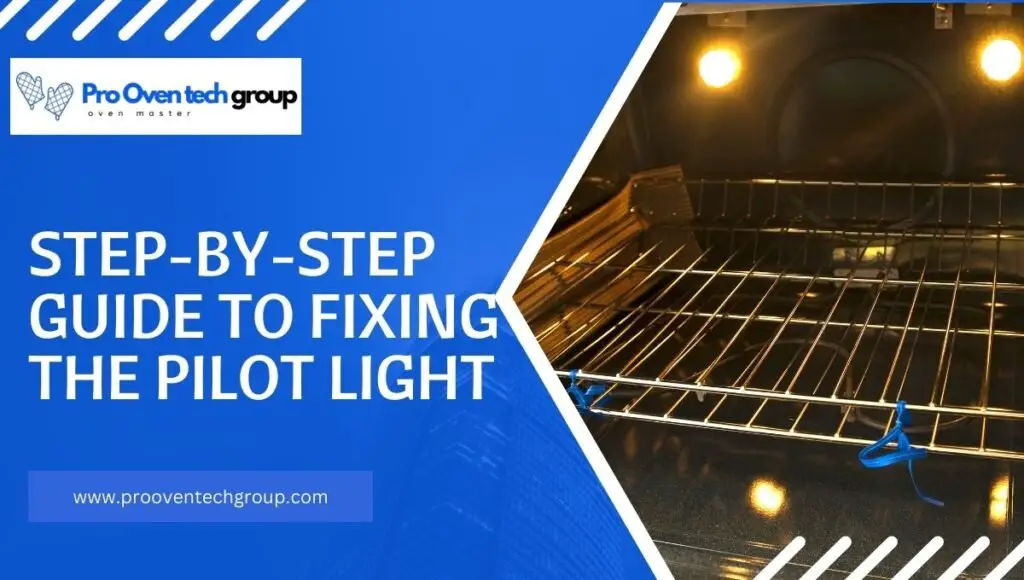
Step 1: Locate the Pilot Light
The first step in fixing the pilot light on your gas oven is to locate it. The pilot light is typically located at the bottom of the oven, near the rear or side panel. You may need to remove any oven racks or bottom drawer to gain access.
Step 2: Clean the Pilot Light
Once located, it’s time to clean the pilot light and its surrounding areas. Use a soft brush or compressed air to gently clean away any dust or debris. Be careful not to damage the pilot light or any nearby components in the process.
Step 3: Check the Gas Flow
If the pilot light isn’t igniting, there may be an issue with the gas flow. Check the gas valve to ensure it’s fully open. If the valve is open but there’s still no flame, you might need to inspect the gas line or call a professional.
Step 4: Reignite the Pilot Light
To reignite the pilot light, you need to hold down the oven’s control knob and press the ignition button. The pilot light should ignite immediately. If it doesn’t, repeat the process a few times.
Step 5: Monitor the Oven
After fixing the pilot light, keep a close eye on your oven for the next few baking cycles. If the oven has trouble heating, or if the pilot light goes out again, it may indicate a more serious problem, and professional help may be needed.
Tips on Troubleshooting Common Issues with a Gas Oven Pilot Light
- If the pilot light goes out frequently, it may indicate a problem with the thermocouple or gas valve and should be looked at by a professional.
- Make sure to regularly clean and maintain your oven to prevent any issues with the pilot light.
- If you smell gas when you try to light the pilot light, turn off all sources of ignition and contact a professional immediately.
- Avoid using any harsh chemicals or abrasive tools when cleaning the pilot light area to prevent damage.
- If the flame appears yellow or orange instead of blue, it may indicate a blockage in the gas line and should be checked by a professional.
- Keep an eye on your oven’s temperature and cooking time – if they seem to be off, it could be due to a faulty pilot light.
- If the pilot light is constantly flickering, it may indicate a draft in the oven or an issue with the gas valve and should be inspected by a professional.
When It’s Time to Call in a Professional for Help?
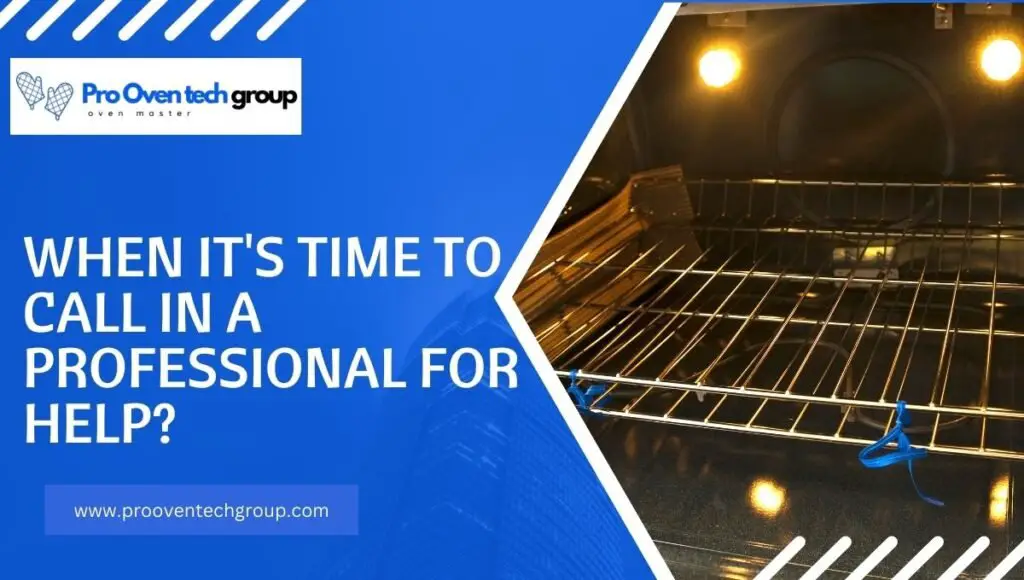
While it’s gratifying to resolve minor issues with your gas oven’s pilot light independently, there are situations when calling in a professional becomes necessary. If the pilot light goes out repeatedly, if there is a strong smell of gas, or if you notice the flame color isn’t blue, it’s time to consult a professional. Additionally, if the troubleshooting steps haven’t resolved the issue, or if you’re uncomfortable performing them, don’t hesitate to seek expert assistance for the sake of your safety and the appliance’s longevity.
Conclusion How to fix pilot light on gas oven
In the end, addressing any issues with the pilot light in your gas oven is crucial for its proper functioning. Regular maintenance and cleaning, along with knowing when to call in a professional, can ensure smooth operation and prevent safety hazards. By following these steps and tips, you can keep your oven running smoothly and enjoy delicious home-cooked meals without any worries. So don’t let a malfunctioning pilot light ruin your cooking experience – take the necessary steps to fix it and continue creating tasty dishes with ease.
FAQS
Q1. How to light the pilot on a gas stove/oven?
A1. To light the pilot on a gas stove/oven, locate the pilot light and press down on the oven’s control knob while simultaneously pressing the ignition button. This should ignite the flame.
Q2. gas oven won’t light but pilot light is on?
A2. If the pilot light is on, but the oven won’t light, it may indicate an issue with the gas supply or thermocouple and should be inspected by a professional.
Q3. Is it dangerous if the pilot light goes out on stove?
A3. If the pilot light goes out on a stove, it’s crucial to turn off the gas supply and avoid using any sources of ignition until the issue is resolved. It may indicate a problem with the gas flow or thermocouple and should be looked at by a professional.
Q4. Why wont the pilot light light on my gas oven?
A4. If the pilot light won’t light on your gas oven, it may indicate a clogged gas line, a faulty thermocouple or ignition button, or an issue with the gas valve. It’s best to troubleshoot and consult a professional for proper diagnosis and repair.
Q5. How do you relight a pilot light on a gas stove?
A5. To relight a pilot light on a gas stove, locate and clean the pilot light, make sure the gas valve is open, and hold down the control knob while pressing the ignition button. If it doesn’t ignite, repeat the process a few times or consult a professional for assistance.