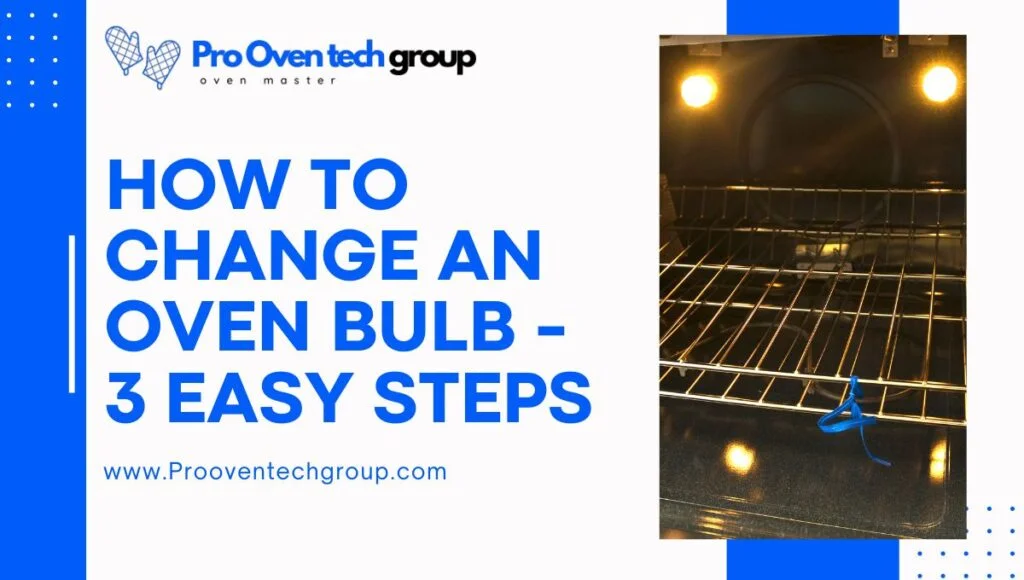
How to change an oven bulb? Changing the bulb in your oven may seem like a daunting task, but with the right guidance, it’s a simple process that can be completed in just a few minutes. Not only does this maintenance ensure that you can clearly see your culinary creations, but it also enhances safety by preventing accidents caused by poor visibility.
The answer is straightforward: Turn off your oven, allow it to cool, then locate and unscrew the cover to replace the bulb.
By following a few key steps, anyone can successfully change an oven bulb, ensuring their oven remains functional and their dishes come out perfectly every time.
Table of Contents
How do I start the process?

To begin changing your oven’s bulb, ensure the oven is turned off and completely cool to avoid any risk of burns or electrical hazards. This initial step sets the stage for a safe and efficient bulb replacement process.
Step 1: Safety First
- Turn off the oven at the mains.
- Wait for the oven to cool completely.
- Wear gloves to protect your hands.
- Ensure you have a stable surface to stand on if height is needed.
Step 2: Locate the Bulb Cover
- Open the oven door.
- Look for the bulb cover in the oven’s ceiling or side.
- Identify any screws or clips holding it in place.
- Clear any racks or obstacles away.
Step 3: Remove the Cover
- Unscrew or unclip the bulb cover carefully.
- Handle the cover gently to avoid damage.
- Place the cover aside in a safe location.
- Note how it was positioned for easier reassembly.
Step 4: Change the Bulb
- Unscrew the old bulb counterclockwise.
- Compare the old bulb with the new to ensure compatibility.
- Screw in the new bulb clockwise until snug.
- Avoid over-tightening to prevent damage.
What safety precautions are necessary?
Safety should always come first, especially when dealing with electrical appliances like an oven. Here are five key precautions to keep in mind:
- Turn Off the Power: Always start by turning off the oven at the main power supply. This prevents the risk of electrical shock, ensuring a safe environment for you to work in.
- Cool Down: Ensure the oven is completely cool before you start. Attempting to change a bulb in a hot oven can lead to burns.
- Use Proper Equipment: Wear gloves to protect your hands from sharp edges and hot surfaces. If you need to reach a higher place, use a stable step stool or ladder.
- Check Bulb Specifications: Make sure you have the correct replacement bulb. Using the wrong type can cause malfunctions or damage.
- Avoid Water: Keep the area dry. Introducing moisture into an electrical appliance increases the risk of injury or damage.
Where is the bulb located?
The bulb is typically located in the roof or side of the oven’s interior, often behind a glass cover or shield to protect it from high temperatures and food splatters. Identifying the exact location is essential for a smooth replacement process.
Bulb Cover
The bulb cover protects the bulb from grease and direct heat. It’s usually made of glass or a heat-resistant material. Gently unscrewing or unclipping this cover will grant you access to the bulb.
Identifying the Bulb
Most ovens use a specific type of bulb designed to withstand high temperatures, usually a 15-25 watt, 300°C heat-resistant bulb. Ensure you’ve purchased the right bulb type by comparing it with the old one.
Accessing the Bulb
Once the cover is removed, the bulb should be easily accessible. It might be screwed in tightly, so be gentle but firm when unscrewing it to avoid breaking the bulb. Remember, righty-tighty, lefty-loosey!
Which bulb type is required?
Replacing your oven bulb requires a specific type, usually a 15-25 watt, 300°C heat-resistant bulb. It is vital to choose the correct bulb to ensure safety and functionality within the high-temperature environment of the oven.
- Ensure bulb is 15-25 watt for optimal performance.
- Must resist temperatures up to 300°C (572°F).
- Utilize a screw-in base for easy installation.
- Confirm bulb shape fits within the cover.
- Check compatibility with your oven model.
- Prefers tungsten filaments for longer life.
- Glass should be clear for best light.
- Energy-saving LEDs are not suitable for ovens.
In summary, selecting the appropriate oven bulb, considering wattage, temperature resistance, and compatibility is crucial for safety and efficiency. Remember, the right bulb illuminates your culinary masterpieces without a hitch.
How do I replace the bulb?
Replacing your oven’s bulb might seem like a minor task, but it makes a big difference in cooking visibility and safety. With the right bulb and a few simple steps, you can light up your oven’s interior once again.
Step 1: Unplug and Cool Down
- Ensure the oven is unplugged.
- Confirm the oven is completely cool.
- Patiently wait if necessary.
- Safety first to prevent accidents.
Step 2: Remove the Old Bulb
- Wear gloves for protection.
- Gently unscrew the old bulb.
- Dispose of the old bulb safely.
- Be careful to avoid glass breakage.
Step 3: Install the New Bulb
- Handle the new bulb with care.
- Screw the new bulb in clockwise.
- Don’t overtighten, just until snug.
- Ensure it’s properly seated for optimal lighting.
Step 4: Test and Enjoy
- Plug the oven back in.
- Turn on the oven light to test.
- Check for even, bright light.
- Enjoy better visibility and safer cooking!
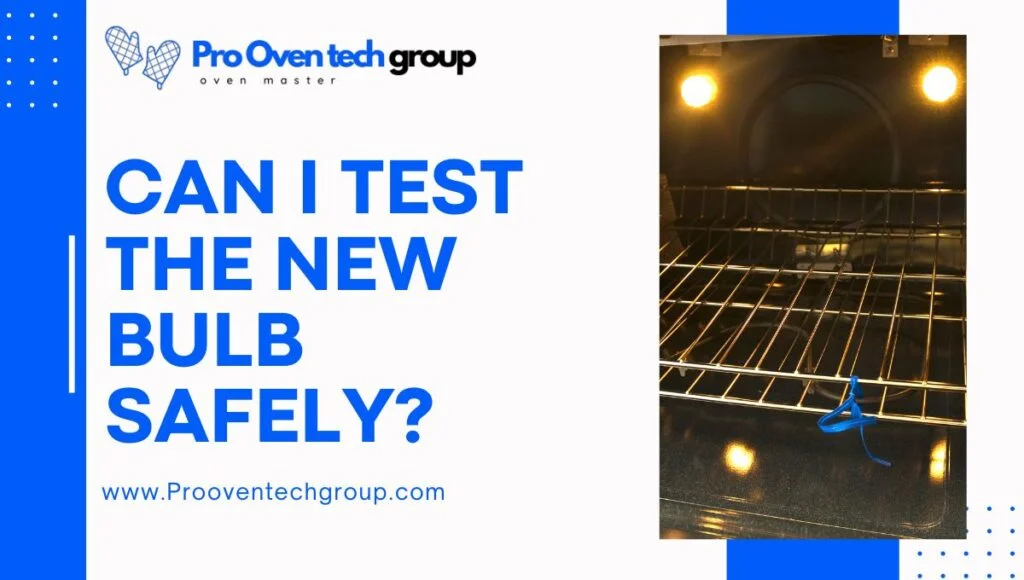
Can I test the new bulb safely?

Testing the new oven bulb safely is crucial to ensure it functions correctly and doesn’t present any hazards. It’s the final step in the bulb replacement process that confirms your success and restores full visibility inside your oven.
- Plug the oven back in to restore power.
- Keep the oven door open during testing.
- Turn on the oven light switch.
- Observe the bulb for consistent lighting.
- Verify no flickering occurs after installation.
- Check for any unusual sounds or smells.
- Ensure the oven light illuminates evenly.
- Unplug if issues arise and consult a professional.
In summary, safely testing your new oven bulb ensures it brightens your cooking space effectively. It’s the finishing touch to a successful replacement, illuminating your culinary adventures.
Conclusion how to change an oven bulb
In sum, replacing an oven bulb is a straightforward task that significantly enhances your cooking experience. By following the step-by-step guide provided, you can ensure a safe and effective bulb replacement, brightening up your culinary creations.
Remember, the key to a smooth replacement process lies in selecting the correct bulb type and adhering to safety precautions. This simple maintenance task not only improves visibility but also ensures your oven operates efficiently and safely.
FAQS
Q1. How to remove stuck oven light bulb cover?
A1. If the cover is stuck, try gently tapping it with a rubber mallet or using pliers to grip and twist it off. If these methods don’t work, consult a professional for assistance.
Q2. Oven bulb replacement near me?
A2. You can find oven bulb replacements at most hardware stores or appliance repair shops. Alternatively, you can purchase them online.
Q3. How to change an oven bulb samsung?
A3. The process for changing an oven bulb may vary slightly depending on the brand and model. Ensure you have the correct replacement bulb and follow the manual or online instructions provided by Samsung for your specific oven model. Lastly, remember to always adhere to safety precautions when replacing any appliance bulbs.
Q4. High Temperature oven Light Bulbs?
A4. When replacing your oven bulb, ensure it is rated for high temperatures (usually up to 300°C or 572°F) to prevent damage and ensure safety within the oven’s environment. Additionally, using energy-saving LEDs as replacements may not be suitable for ovens due to their lower heat resistance. Always check the recommended bulb type for your specific oven model.
Q5. How to change an oven bulb whirlpool?
A5. The process for changing an oven bulb may vary slightly depending on the brand and model. Ensure you have the correct replacement bulb and follow the manual or online instructions provided by Whirlpool for your specific oven model. Lastly, remember to always adhere to safety precautions when replacing any appliance bulbs.

